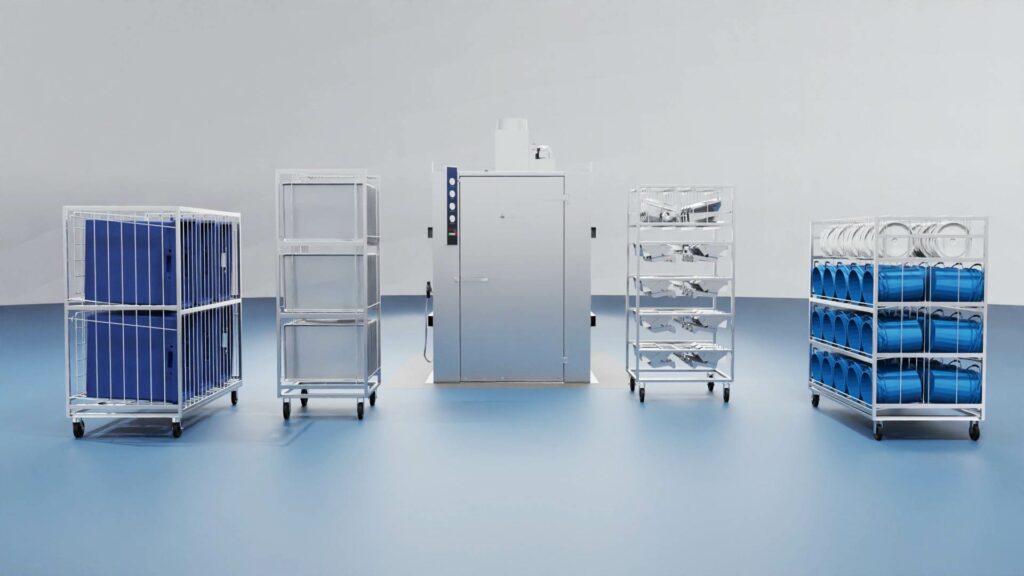
You have the right equipment. Now, to use it properly. Automated rack washers are efficient tools for washing food processing equipment like sheet pans, scale parts, buckets and more. When used properly, they save your operation time and resources.
So make sure you’re using it correctly. Properly loading your wash rack is integral to achieving consistent, spotless wash results that keep your process running smoothly. Written out below is a step-by-step guide on how to load an adjustable SPW wash rack with scale parts.
1. Determine the height of the feeder pans.
2. Rotate the Swing Gates up and out of the way.
3. Set all Feeder Pan Gates to hold the feeder pans vertically.
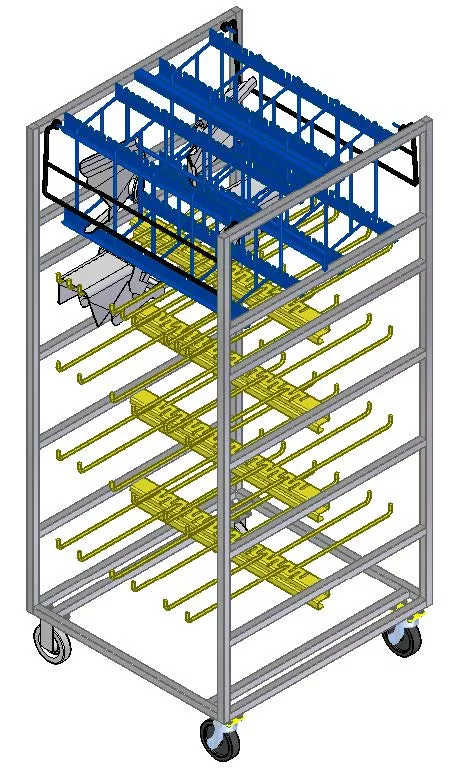
As illustrated in figures 1 and 2.

Swing Gate: Rotate up and over to load feeder pans. Return to hanging position upon loading.
Lower Hopper Section
Upper feeder pan section
Figure 1

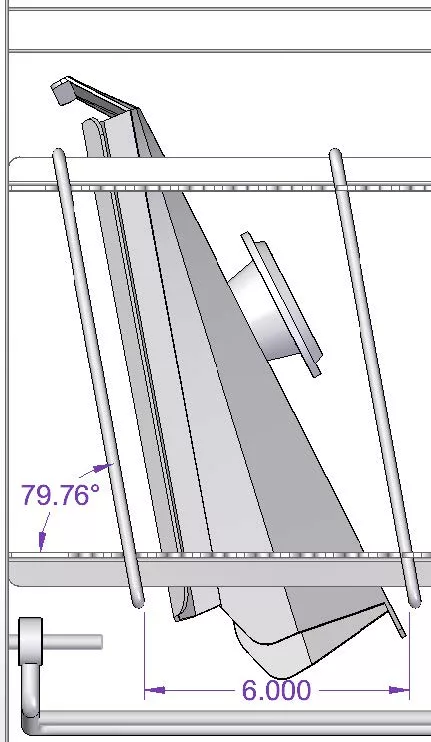
Feeder pan captivation gate
Upper feeder pan section
Maintain this angle when setting gates.
Figure 2

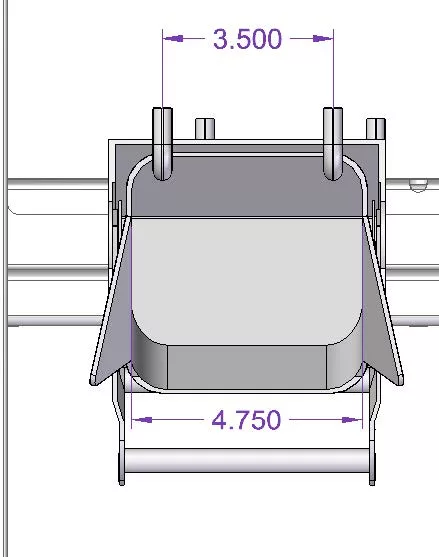
Hanger Rods
Figure 3
4. Load all Feeder Pans.
5. Return the swing gates to a hanging position.
5. Determine the width of the hoppers.
6. Set pairs of Hanger Rods to fit inside the hopper.
As illustrated in figure 3.
7. Load all the hoppers.
Your wash rack is now fully loaded and ready to complete a wash. Keep in mind: load your wash rack with only the intended items. If you’d like to load a new item onto it, consult with your sales engineer first. And before you begin the wash cycle, ensure that there are no loose or hanging parts placed onto the wash rack.

